Toilet Paper Holder Installation Tips
Ready to elevate your bathroom's functionality and style? Installing a toilet paper holder might sound simple, but the right approach can make all the difference. Let's explore the essential steps to ensure a successful installation!
What You Will Learn
- Identify the best type of toilet paper holder for your space, whether wall-mounted or freestanding.
- Choose between adhesive and traditional mounting for a secure and stylish installation.
- Gather essential tools like a drill, screwdriver, and measuring tape to ensure a hassle-free process.
- Follow step-by-step guidelines to accurately install your holder and avoid common mistakes.
- Understand the importance of drywall anchors for added stability and durability.
- Explore additional bathroom upgrades that can enhance functionality and aesthetics after installation.
Toilet Paper Holder Installation: Process Flow and Key Considerations
This visual outlines the step-by-step process of installing a toilet paper holder, highlighting the different types, essential tools, and critical installation phases.
1. Understanding Types of Holders
Choosing the right holder enhances functionality and style.
- • Wall-Mounted vs. Freestanding
- • Adhesive vs. Traditional Mounting
- • Modern vs. Vintage Designs
2. Gathering Essential Tools
Proper equipment ensures a smooth and hassle-free installation.
- • Drill & Screwdriver
- • Level & Measuring Tape
- • Pencil & Drywall Anchors
3. Step-by-Step Installation
Precision and careful execution are key for secure placement.
- • Measure & Mark Placement (e.g., 26" from floor)
- • Drill Pilot Holes (with anchors if needed)
- • Attach Bracket & Test Stability
4. Avoiding Common Installation Mistakes
Learning from common pitfalls ensures a successful outcome.
- × Installing too high/low
- × Skipping drywall anchors
- × Not using a level (crooked holder)
The Complete Process of Installing a Toilet Paper Holder
Installing a toilet paper holder might seem like a small task, but it can greatly enhance the functionality and style of your bathroom. In this section, we’ll delve into the entire process—from understanding the different types of holders to the essential tools you'll need, and finally, step-by-step installation guidelines. Are you ready to transform your space with a stylish and practical addition? Let’s dive in!
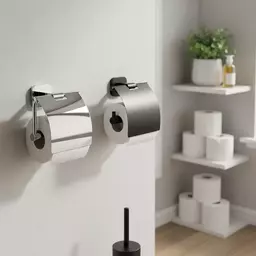
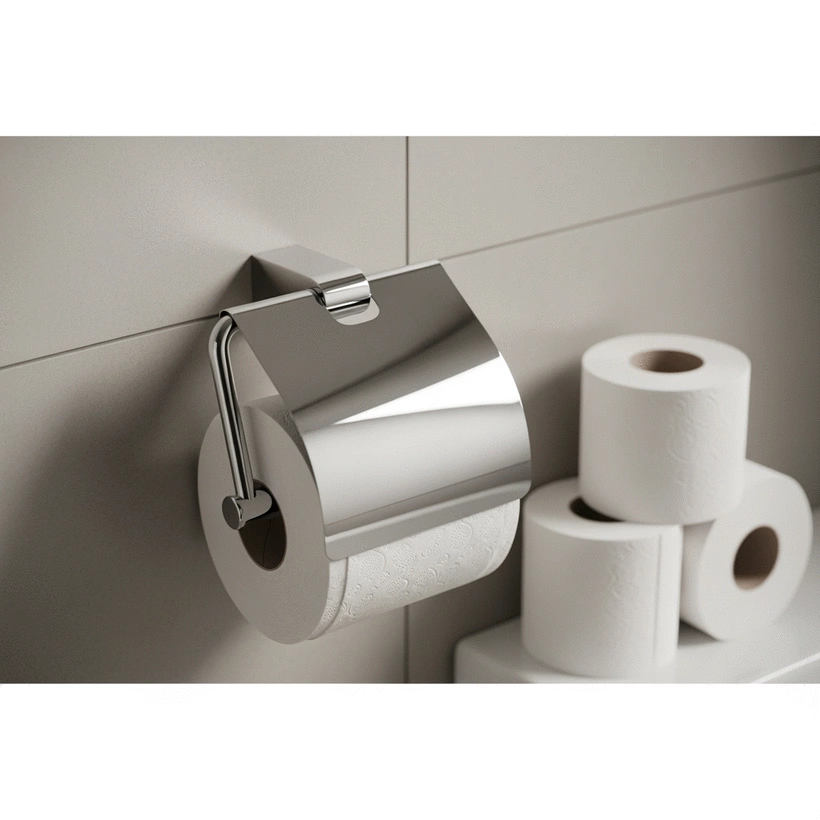
Understanding Different Types of Toilet Paper Holders
Before we get our hands dirty, it’s crucial to understand the various types of toilet paper holders available. Each type has its unique features and benefits, so choosing the right one can make a world of difference!
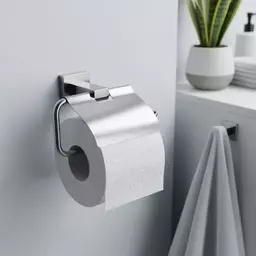
Wall-Mounted vs. Freestanding Options
When considering your options, you’ll typically choose between wall-mounted and freestanding holders. Wall-mounted holders are great for saving space and give a clean, streamlined look to your bathroom. Meanwhile, freestanding options can add a decorative touch and offer flexibility in placement. Which one suits your bathroom layout better?
- Wall-Mounted Holders: Ideal for limited space, providing a minimalist appeal.
- Freestanding Holders: Adds charm and can be easily moved around.
Choosing Between Adhesive and Traditional Mounting
Next, let's explore the mounting options. Adhesive holders are convenient and easy to install—no tools required! However, traditional mounting provides a more secure fit that can withstand daily use. For a deeper dive into the benefits of various mounting options and best practices, The Ultimate Guide to Toilet Paper Holders offers comprehensive insights. If you’re leaning towards sustainability, opt for a holder that promotes eco-friendly practices.
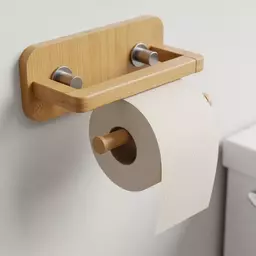
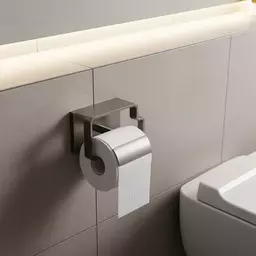
Exploring Decorative Holders: Modern vs. Vintage Designs
Finally, let’s discuss aesthetics! Whether you prefer modern sleek lines or vintage charm, there's a holder out there for everyone. A decorative holder not only serves a functional purpose but can also enhance your bathroom decor.
- Modern Designs: Sleek finishes in materials like chrome and brushed nickel.
- Vintage Designs: Intricate details and finishes that evoke nostalgia.
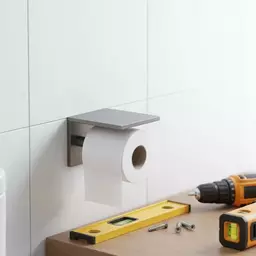
Essential Tools for Successful Installation
Now that we've chosen the right type of toilet paper holder, it’s time to gather our tools! Ensuring you have the right equipment can make the installation process smooth and hassle-free. Here’s what you’ll need:
List of Tools You’ll Need for Installation
- Drill
- Screwdriver
- Level
- Measuring tape
- Pencil for marking
- Drywall anchors (if applicable)
Understanding the Importance of Drywall Anchors
Don’t underestimate the power of drywall anchors! They offer additional support, especially when installing your holder on drywall. Using anchors can prevent your holder from pulling away from the wall over time. Trust me, they’re a small investment that pays off in durability!
How to Use a Level and Measuring Tape for Accurate Placement
Precision is key when it comes to installation. Using a level ensures that your holder is straight, while a measuring tape helps you find the perfect height. You don’t want your toilet paper holder to be too high or too low! For specific guidelines on accessible design, the ADA Accessibility Guidelines provide valuable information on mounting heights and placements for various bathroom fixtures, including toilet paper dispensers. So, take a moment to measure twice, and you’ll install once!
Following Step-by-Step Installation Guidelines
With our tools ready, it’s time to move on to the installation process. I’ve broken it down into simple steps to help you along the way!
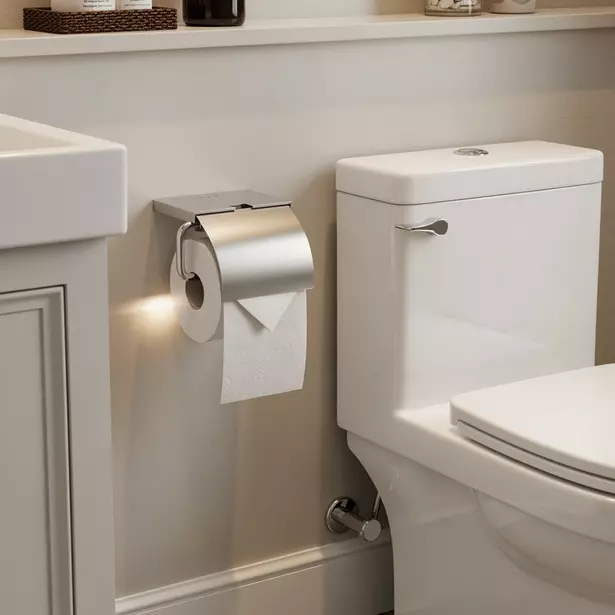
Measuring and Marking for Accurate Placement
Start by measuring the desired height for your toilet paper holder. Typically, this is around 26 inches from the floor. Use your pencil to mark the spot on the wall where the holder will be installed. Getting this step right is crucial for a smooth installation!
Drilling Pilot Holes for Secure Installation
Next, it’s time to drill. If you’re using drywall anchors, drill the appropriate-sized holes where you’ve marked. This step helps ensure a secure fit. Take your time—no need to rush!
Attaching the Bracket and Testing Stability
Now, attach the bracket of your toilet paper holder to the wall using screws. Once it’s secured, give it a little tug to test stability. It should feel strong and secure, ready to hold those rolls!
Common Installation Mistakes to Avoid
Lastly, let's talk about what to watch out for. Here are a few common mistakes to avoid:
- Installing too high or too low
- Skipping drywall anchors on drywall
- Not using a level, leading to a crooked holder
By keeping these tips in mind, you’ll be well on your way to a successful installation. Are you excited to get started? Let's keep that momentum going!
Frequently Asked Questions About Toilet Paper Holder Installation
Here are some common questions to help you further with your installation:
- Q: What is the ideal height for a toilet paper holder?
- A: The standard recommendation is about 26 inches (66 cm) from the floor to the bottom of the holder. However, adjust this to your personal preference and comfort. For ADA compliance, the dispenser should be 15 to 48 inches from the floor to the highest operable part. For more details on ADA guidelines, refer to this ADA Title III Compliance Assistance document.
- Q: Should I choose a wall-mounted or freestanding toilet paper holder?
- A: Wall-mounted holders save space and offer a clean look, ideal for smaller bathrooms. Freestanding holders provide flexibility in placement and can add a decorative touch, suitable for larger spaces or renters.
- Q: When are drywall anchors necessary for installation?
- A: Drywall anchors are crucial when mounting a toilet paper holder directly into drywall, as they provide essential support and prevent the fixture from pulling out over time. If mounting into a stud, anchors are not needed.
- Q: How can I ensure my toilet paper holder is installed straight?
- A: Always use a level to mark your pilot holes and verify the bracket's alignment before fully securing it. This prevents a crooked installation.
- Q: What tools are essential for installing a toilet paper holder?
- A: Key tools include a drill, screwdriver, level, measuring tape, and a pencil for marking. Drywall anchors are also essential if you're not mounting into a wall stud.
Pro Tip
When installing your toilet paper holder, consider the height that feels most comfortable for your household. A standard recommendation is around 26 inches from the floor, but it's essential to tailor this to your personal preference and bathroom layout. Taking this small step can enhance your overall bathroom experience!
Final Thoughts on Toilet Paper Holder Installation
Installing a toilet paper holder doesn't have to be a daunting task! By following the right steps and understanding the nuances of your chosen holder, you can enhance both functionality and aesthetics in your bathroom. Here are some key takeaways to ensure a smooth installation experience:
- Choose the right type: Whether it's a wall-mounted or freestanding option, ensure it fits your space and style.
- Prepare your tools: Have all necessary tools at hand to avoid interruptions during the installation.
- Follow installation guidelines: Take your time measuring and marking for accuracy to prevent common mistakes.
- Test stability: Always check that your holder is secure before use to avoid any mishaps!
Remember, a well-installed toilet paper holder not only looks great but enhances the overall functionality of your bathroom. After all, it’s those little details that make a big difference in our daily lives!
Encouraging Safe and Effective DIY Practices
As a home organization enthusiast, I can’t stress enough the importance of safety during any DIY project. Here are some best practices to keep in mind while installing your toilet paper holder:
- Read instructions thoroughly: Familiarize yourself with the installation guide provided with your holder.
- Wear safety gear: Don’t forget to use goggles and gloves if necessary, especially when drilling.
- Ask for help: If you're unsure or feel overwhelmed, don’t hesitate to ask a friend or family member for assistance.
- Take breaks: Don’t rush the process; taking your time ensures a job well done!
DIY projects can be incredibly rewarding, and with a safe approach, you'll not only gain a functional bathroom accessory but also a sense of accomplishment!
Next Steps: Enhancing Your Bathroom Experience
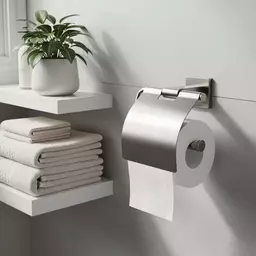
Considering Additional Bathroom Upgrades
Once you’ve successfully installed your toilet paper holder, why not think about other upgrades that can elevate your bathroom experience? Here are a few ideas to ponder:
- Upgrade your towel racks: Choose matching styles for a cohesive look.
- Add a shelf: A simple shelf can help organize toiletries and decor.
- Install eco-friendly lighting: Consider switching to LED fixtures to save on energy costs.
- Incorporate plants: Adding greenery can enhance the ambiance and improve air quality!
These upgrades can transform your space into a more inviting, organized oasis—perfect for relaxation after a long day!
Inviting Reader Engagement Through Questions and Feedback
I’d love to hear from you! What challenges did you face while installing your toilet paper holder? Do you have any tips to share? Have you considered any other bathroom upgrades? Your experiences can help others in our community, so please leave a comment below.
Remember, we’re all in this together—let's make our bathrooms functional and beautiful! Don’t forget to check out more of our tips here at TP Holder Digest, where we’re all about enhancing your bathroom experience.
Recap of Key Points
Here is a quick recap of the important points discussed in the article:
- Choose the right type: Whether it's a wall-mounted or freestanding option, ensure it fits your space and style.
- Prepare your tools: Have all necessary tools at hand to avoid interruptions during the installation.
- Follow installation guidelines: Take your time measuring and marking for accuracy to prevent common mistakes.
- Test stability: Always check that your holder is secure before use to avoid any mishaps!
- Avoid common mistakes: Ensure proper height, use drywall anchors, and utilize a level for straight installation.